Bulk selection
Before any bulk action (set proxy, create profile, tag, delete…), you must first select the accounts to act on. GAIO gives you two paths: the Select ▾ menu for fast batch selection, and direct selection on the table (checkboxes, drag, Shift+click). The current count is always shown as a count badge on the Select button.
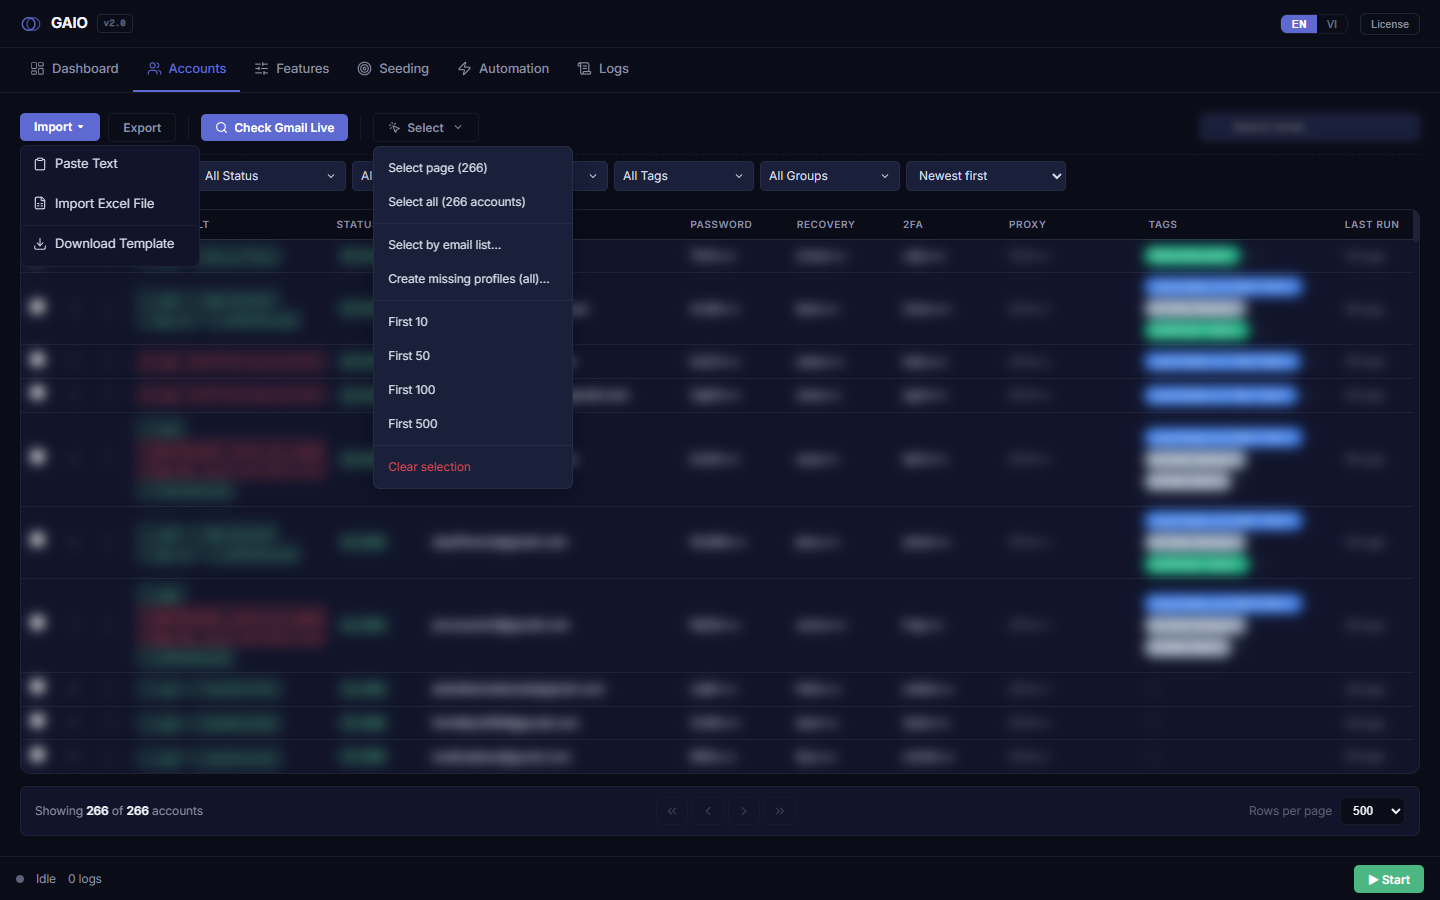
The Select ▾ menu
Click Select ▾ (a mouse-pointer icon plus a count badge) to open the menu. Here is every item in full:
| Item | What it does | Merges or replaces |
|---|---|---|
Select page (N) | Ticks every row on the current page (N = the page's row count). | Merges into the existing selection. |
Select all filtered / Select all (N accounts) | Ticks every account matching the current filters, across all pages. The label becomes Select all (N accounts) when no filter is active. | Replaces with the fetched set. |
Select by email list… | Opens the paste-emails box to auto-tick exactly those accounts (see below). | Replaces. |
Create missing profiles (…)… | Detect and create the missing antidetect profiles — scoped to your selection (see below). | — |
First 10 / 50 / 100 / 500 | Ticks the first N rows among those currently loaded on the page. | Replaces. |
Clear selection (red) | Unticks everything. | — |
First 10/50/100/500 only draw from the rows currently loaded on the visible page. If your page size is smaller than N you will select fewer than N. For First 500 to work as intended, set Rows per page to ≥ 500 first.Select all filtered fetches up to ~1,000,000 rows from the server — during which the button reads Selecting... and is disabled. When done, a toast reports ✓ Selected N accounts. Pressing Escape at any time clears the selection.Select by email list… (select from a pasted list)
This is a newer feature, hugely handy when you already have a list of emails scattered across many pages. Instead of hunting each account to tick it by hand, you paste the whole list and the app ticks exactly those accounts.
- Open
Select ▾→Select by email list…— a dedicated modal appears. - Paste your email list into the box — one per line, or separated by commas / spaces / semicolons / tabs, all accepted.
- Click
Select matching— the app scans the whole database. - Read the result — the green line
Matched & selected: X / total. If any emails weren't found, an orangeNot foundlist appears. - If everything matched, the modal closes automatically and the rows are ticked. If some are missing, the modal stays open so you can correct the emails under
Not foundand re-run, or clickClose.
@ are treated as emails; duplicates in your paste are de-duped. Matching is case-insensitive and spans all pages.Select matching.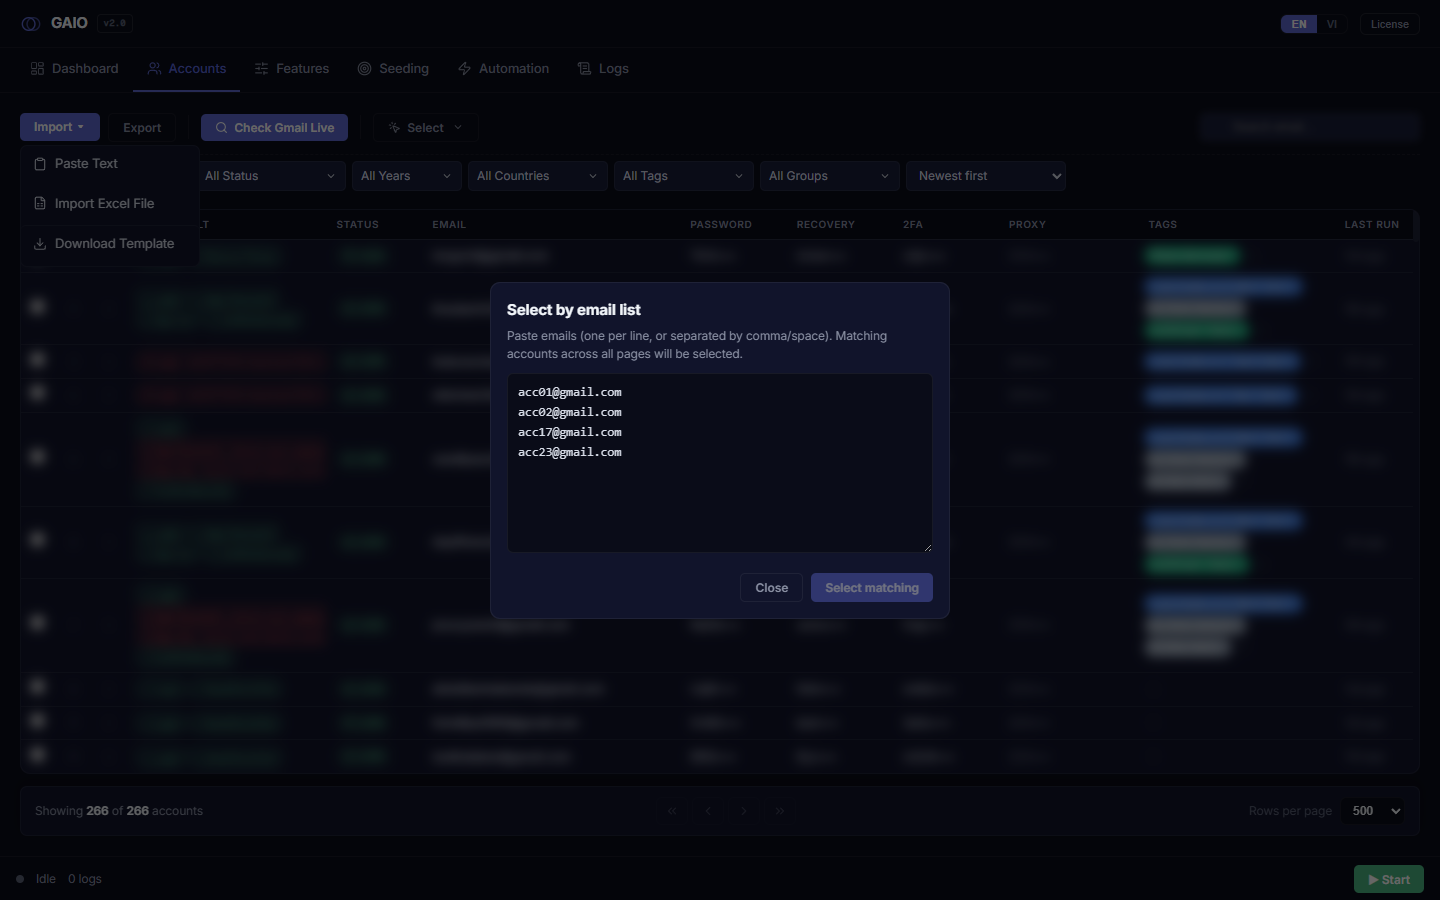
Create missing profiles… (create missing profiles — selection-scoped)
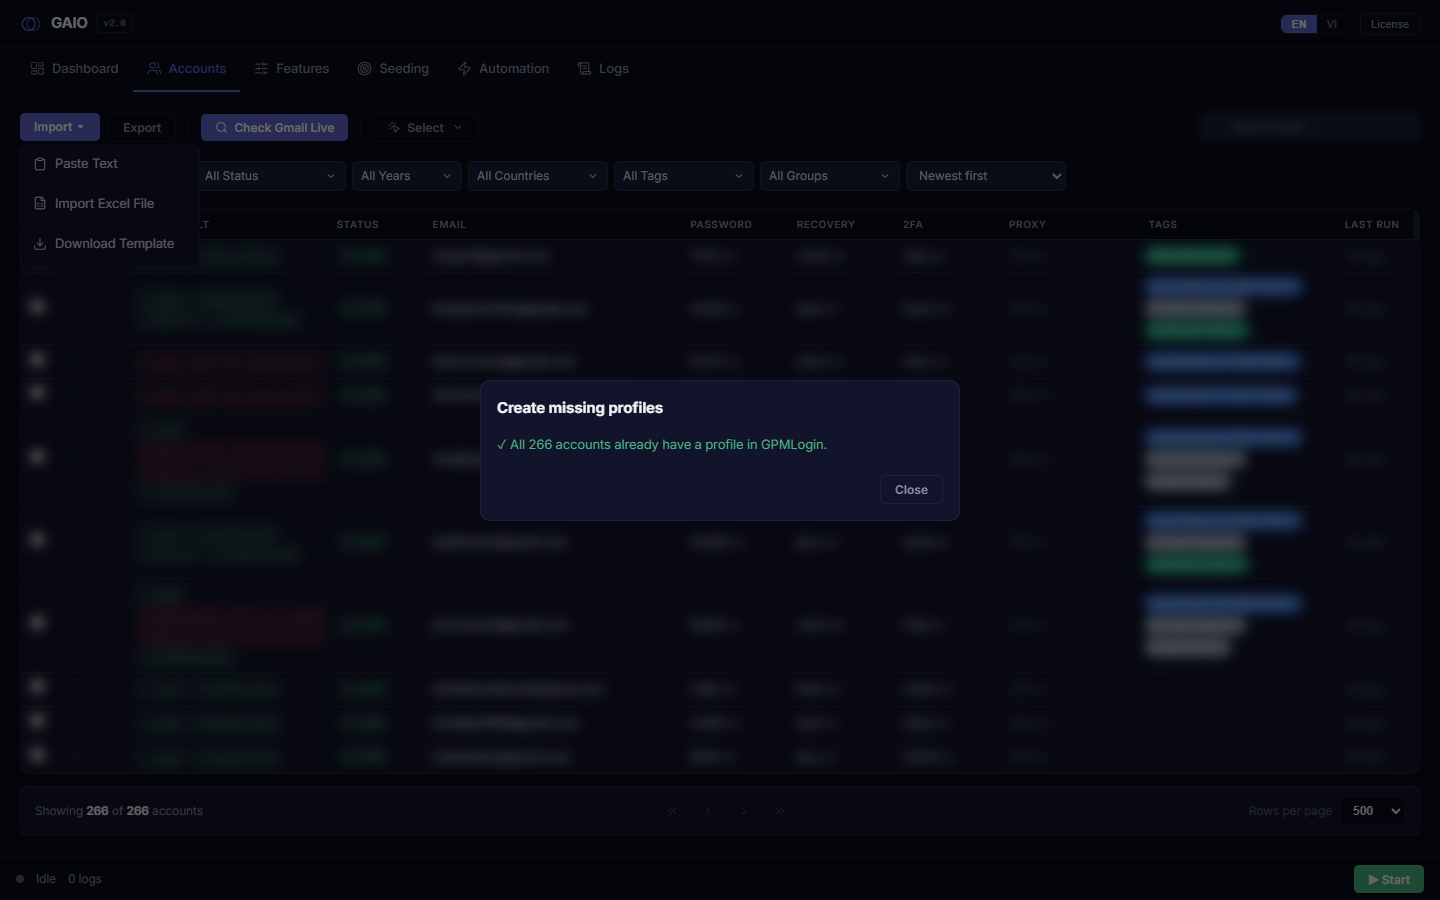
This newer feature finds accounts that do not yet have a profile in your antidetect app (GPMLogin/Multilogin) and creates them in bulk. The key point: it is tied to your selection.
- Accounts ticked → it checks only those. The menu label reads
Create missing profiles (N selected)…. - Nothing ticked → it checks the entire account list. The menu label reads
Create missing profiles (all)….
- (Optional) tick the accounts you want to limit the scope to.
- Open
Select ▾→Create missing profiles…— the label reflects the scope,(N selected)or(all). - Wait for detection — the app checks which accounts have no profile.
- Review the modal — it lists the accounts with no profile and the detected platform. After detection the app narrows your selection down to exactly the missing accounts, so you can see what will be created.
- Click
Create N profilesto create them, thenClose.
Selecting directly on the table
Besides the menu, you can tick right on the table, Excel-style:
- Row checkbox — toggles a single account.
- Header checkbox — selects/deselects every row on the current page; shows an "indeterminate" dash when only some are selected.
- Click-drag vertically over the Task Result or Status columns (the "select zone") to sweep a range of rows — it auto-scrolls when you drag near the top/bottom edge.
- Shift+click a Task Result/Status cell to select the range from your previous click to there.
- Ctrl/Cmd+click — toggle while starting a drag.
- Ctrl+A — select every row on the page; Escape — clear the selection.
Ctrl+A and the header checkbox cover only the current page — to select the whole database, use Select ▾ → Select all filtered.